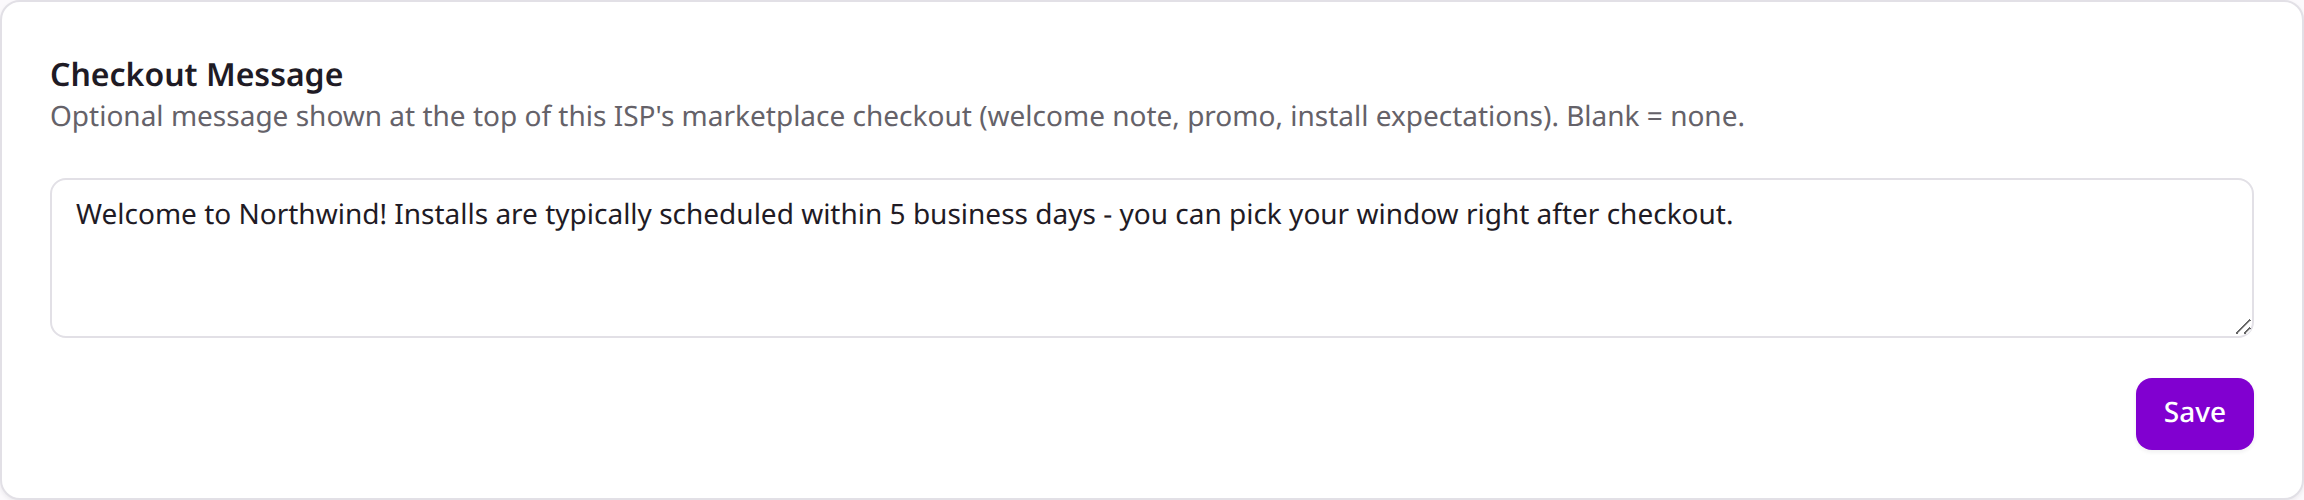
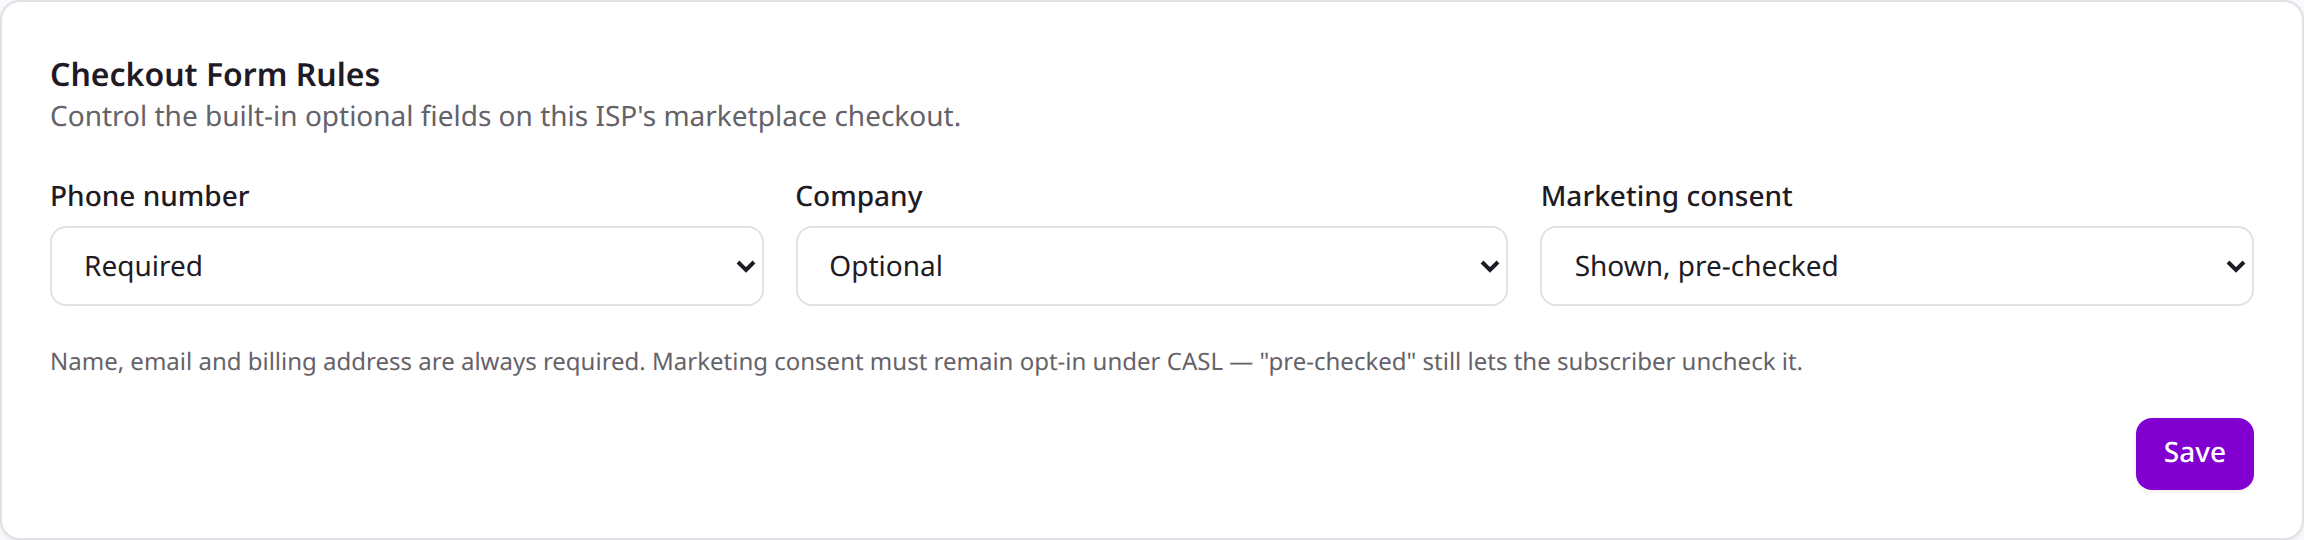
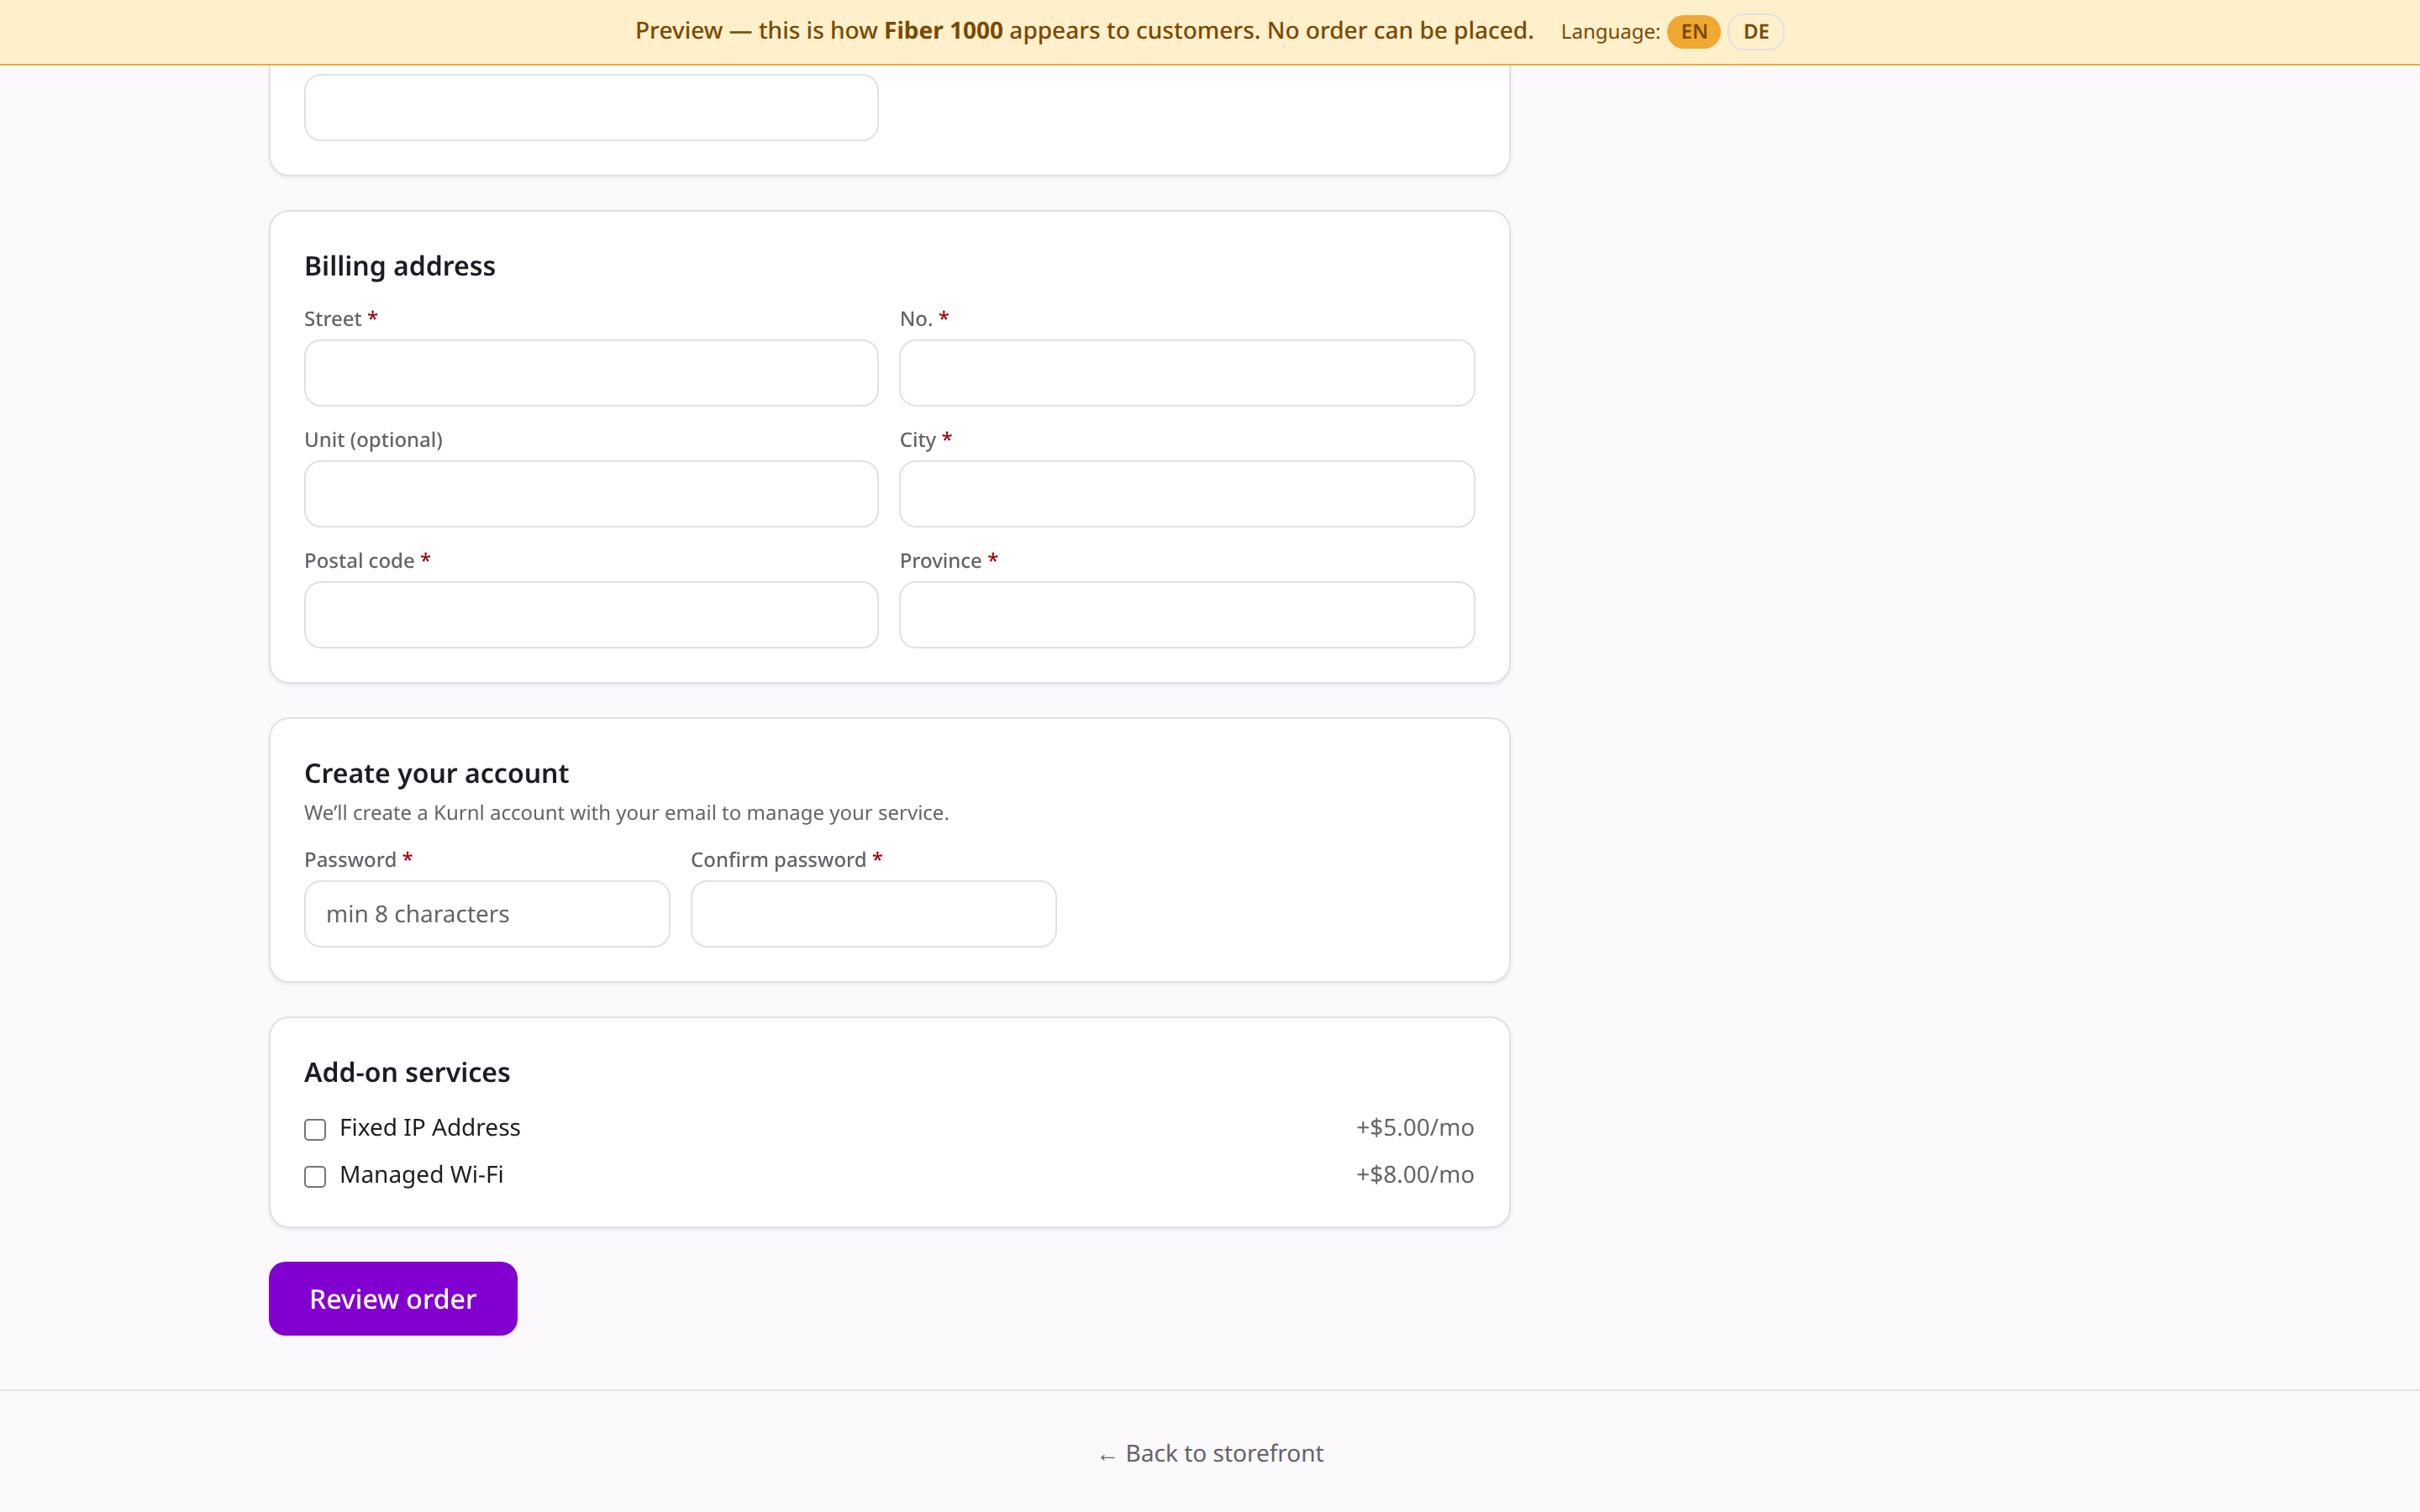
Tailor each provider’s marketplace checkout — a welcome message, which built-in fields are required or hidden, and your own custom questions collected at signup.
Each provider’s marketplace checkout can be tailored without touching code. It’s
all under Providers → (pick a provider) — picking a provider lands you
directly on its settings cards, alongside branding.
Name, email and billing address are always collected and required — those
can’t be turned off. Everything below is layered on top.
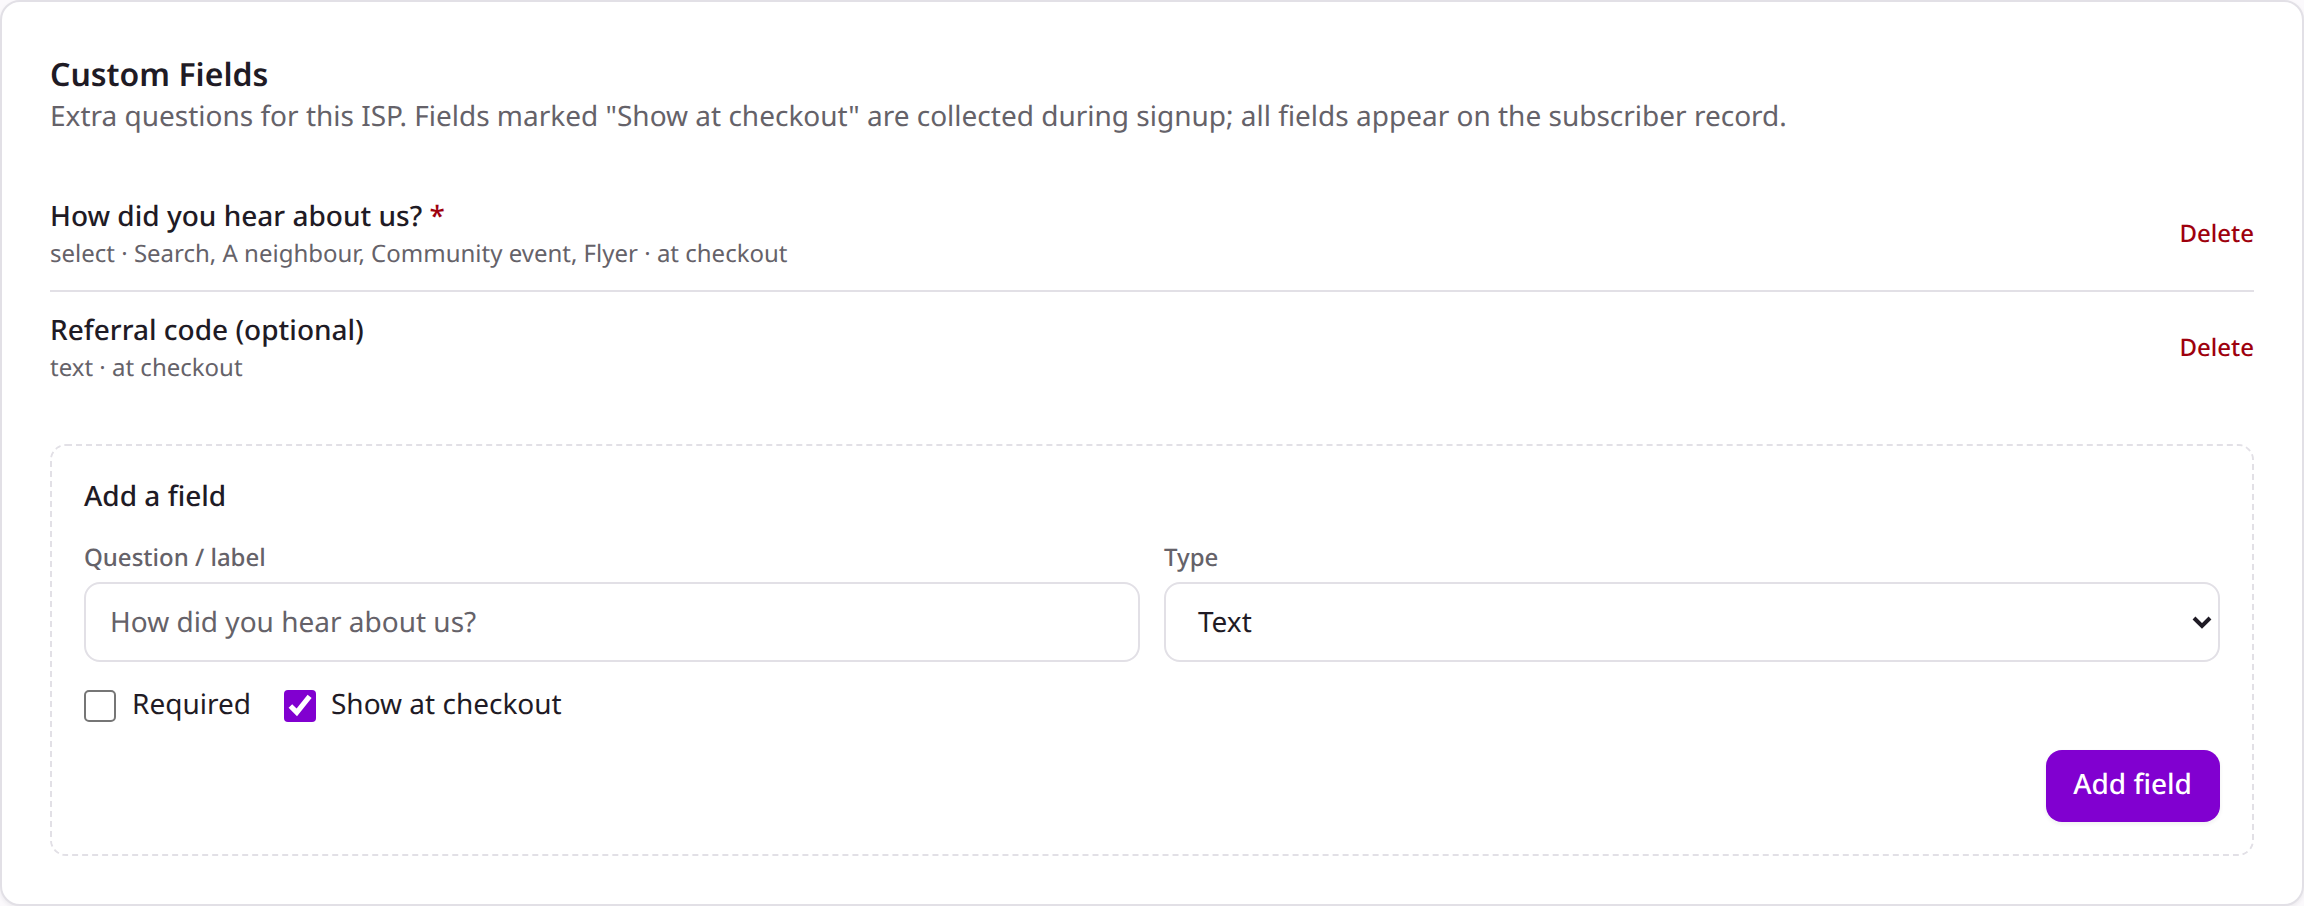
Ask anything else you need at signup — “How did you hear about us?”, a referral
code, a preferred contact time. Answers are saved on the subscriber record.
1
Add a field
In the Custom Fields card, click Add a field. Give it a label, pick a
type — text, dropdown (with your options), or checkbox (yes/no) —
and choose Required and Show at checkout.
Defining custom fields
2
See it on checkout
Fields marked Show at checkout appear in an “A few more details” section
on the marketplace checkout. Required ones must be answered before payment;
the answers land on the subscriber’s record.
Custom questions on the live checkout
A field that isn’t shown at checkout still lives on the subscriber record — use
it for internal notes your team fills in later.
The checkout pathway itself — the Checkout type, Store checkout URL,
and Shared webhook secret for an external hosted checkout — is configured
on the provider portal under Billing → Checkout.