The end-to-end path — build a plan, attach a service, add a promotional campaign, and preview exactly how it looks to a customer in the marketplace.
This is the complete journey: you’ll go from an empty catalog to a live,
customer-ready offer — plan → service → campaign → marketplace preview — and
see precisely what a prospective subscriber sees before you publish.
Everything here is safe to try first in the dashboard sandbox.
You need the Plans and Campaigns permissions (both in sp_admin).
A plan is the offer a customer buys. Its speed, technology, and wholesale cost
come from the wholesale product it’s built on; you set the retail price and
how it’s presented.
1
Open Plans and add one
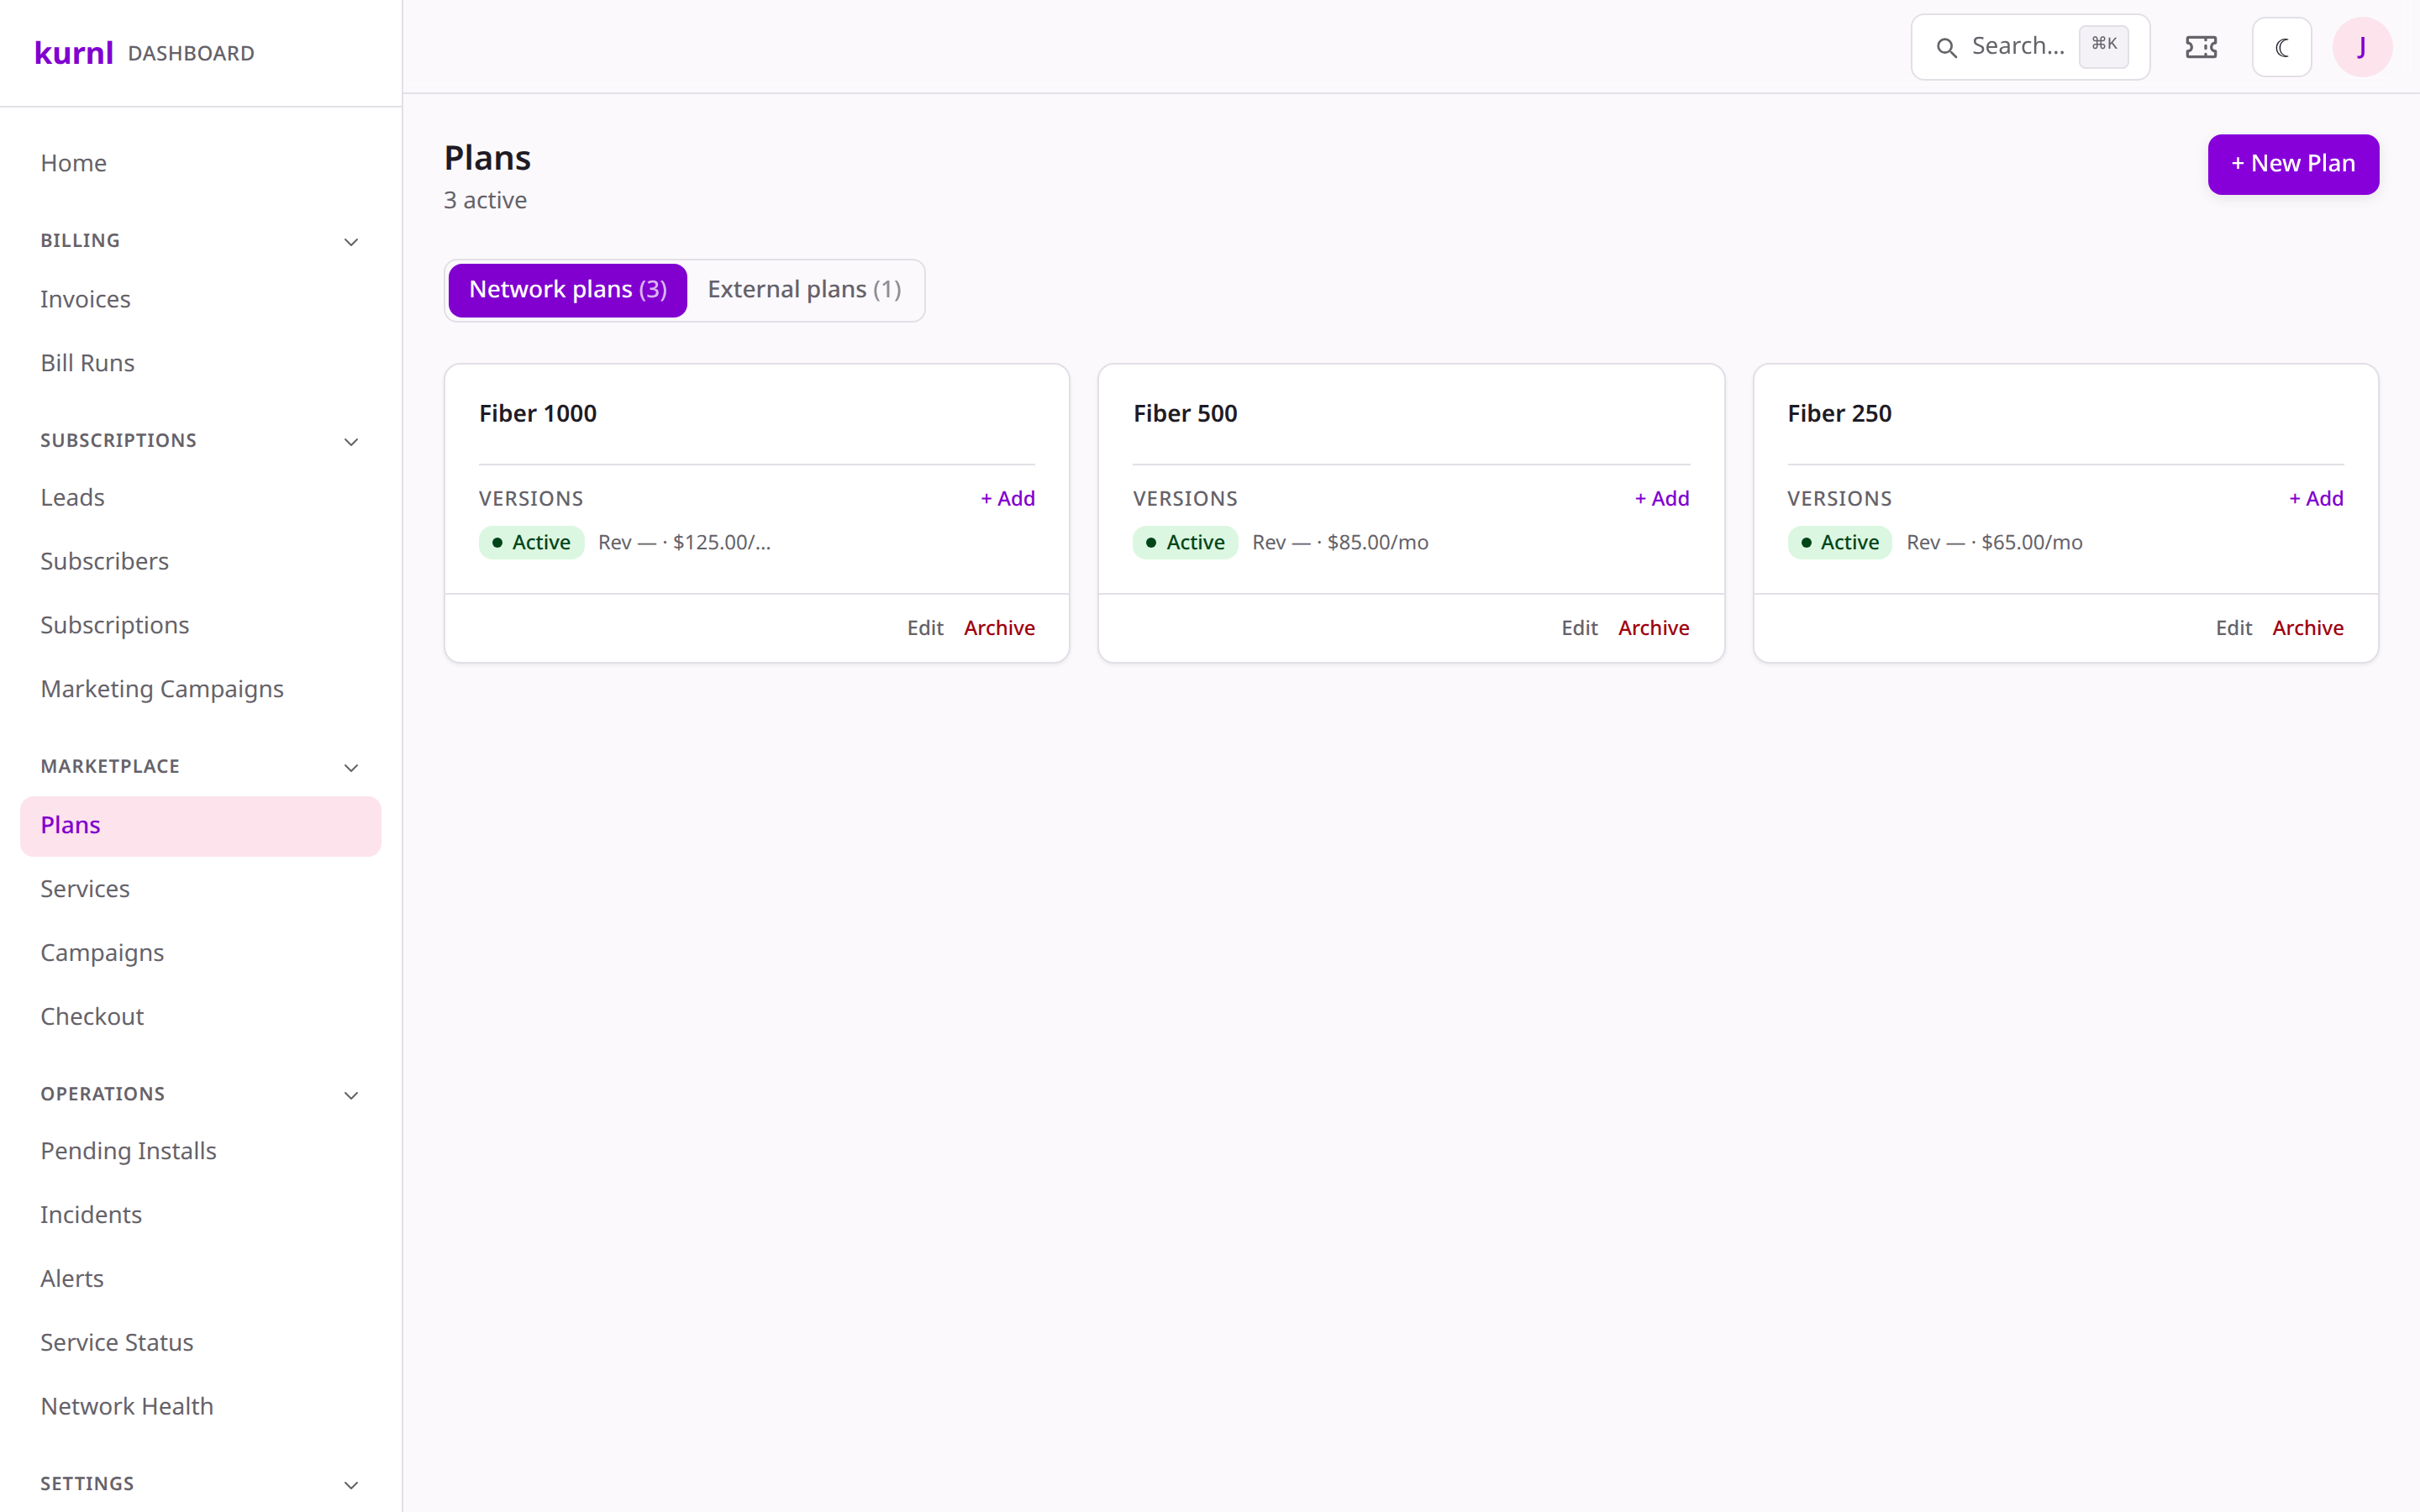
Go to Plans → New Plan. Give it a name (e.g. Fiber 1000), pick its
wholesale product, and set the retail monthly price, an optional setup fee,
and a minimum term.
Plans, each with one or more versions
2
Publish a version
Each plan holds versions — publish a new version to change pricing later
without disturbing existing subscribers. A published version is what appears
in the marketplace.
Services are the extras — a static IP, managed Wi-Fi, priority support — that a
plan can include or offer as a paid add-on.
1
Create the services
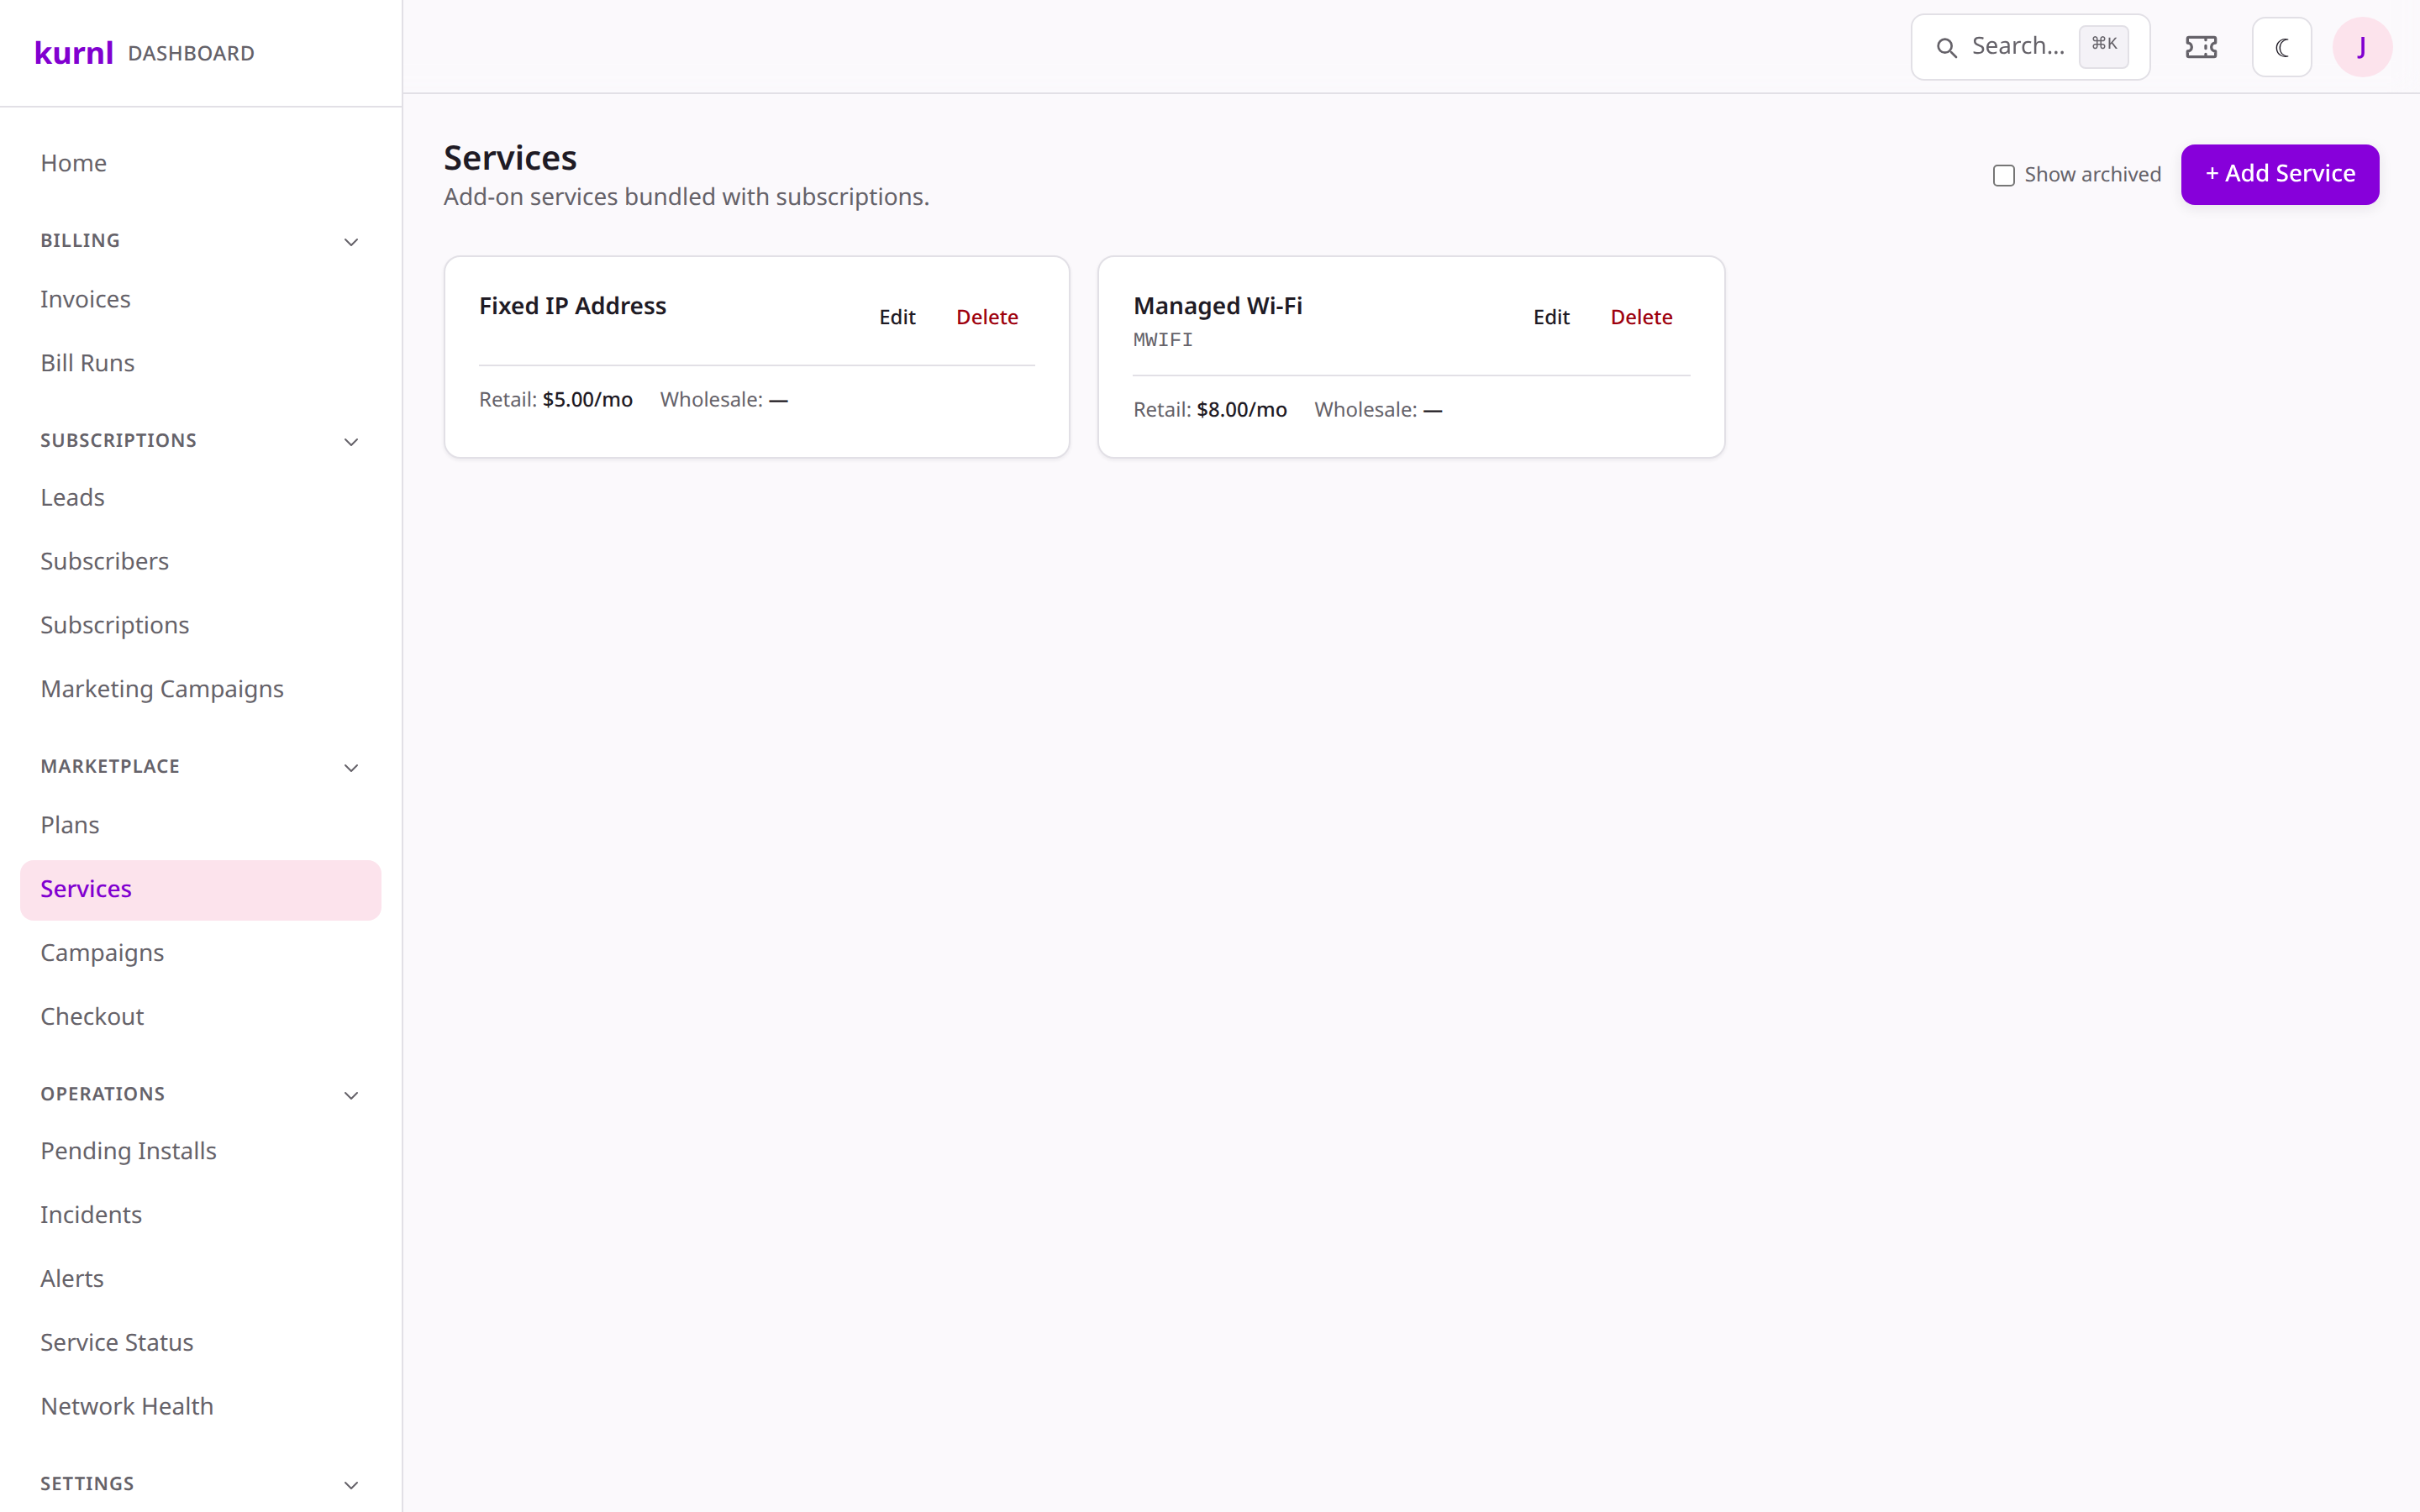
Go to Services and use + Add Service to add each one with a name and monthly
price (e.g. Fixed IP Address — 5,∗ManagedWi−Fi∗—8).
Your service catalog
2
Attach it to the plan
Back in the plan version, add a service as included (bundled into the
price) or add-on (an optional extra the customer can select at checkout),
overriding the price for that plan if you like.
Campaigns highlight a plan and can carry a discount (a percentage or fixed
amount, over a validity window). They’re scoped to your provider — they only
ever touch your own offers.
1
Create the campaign
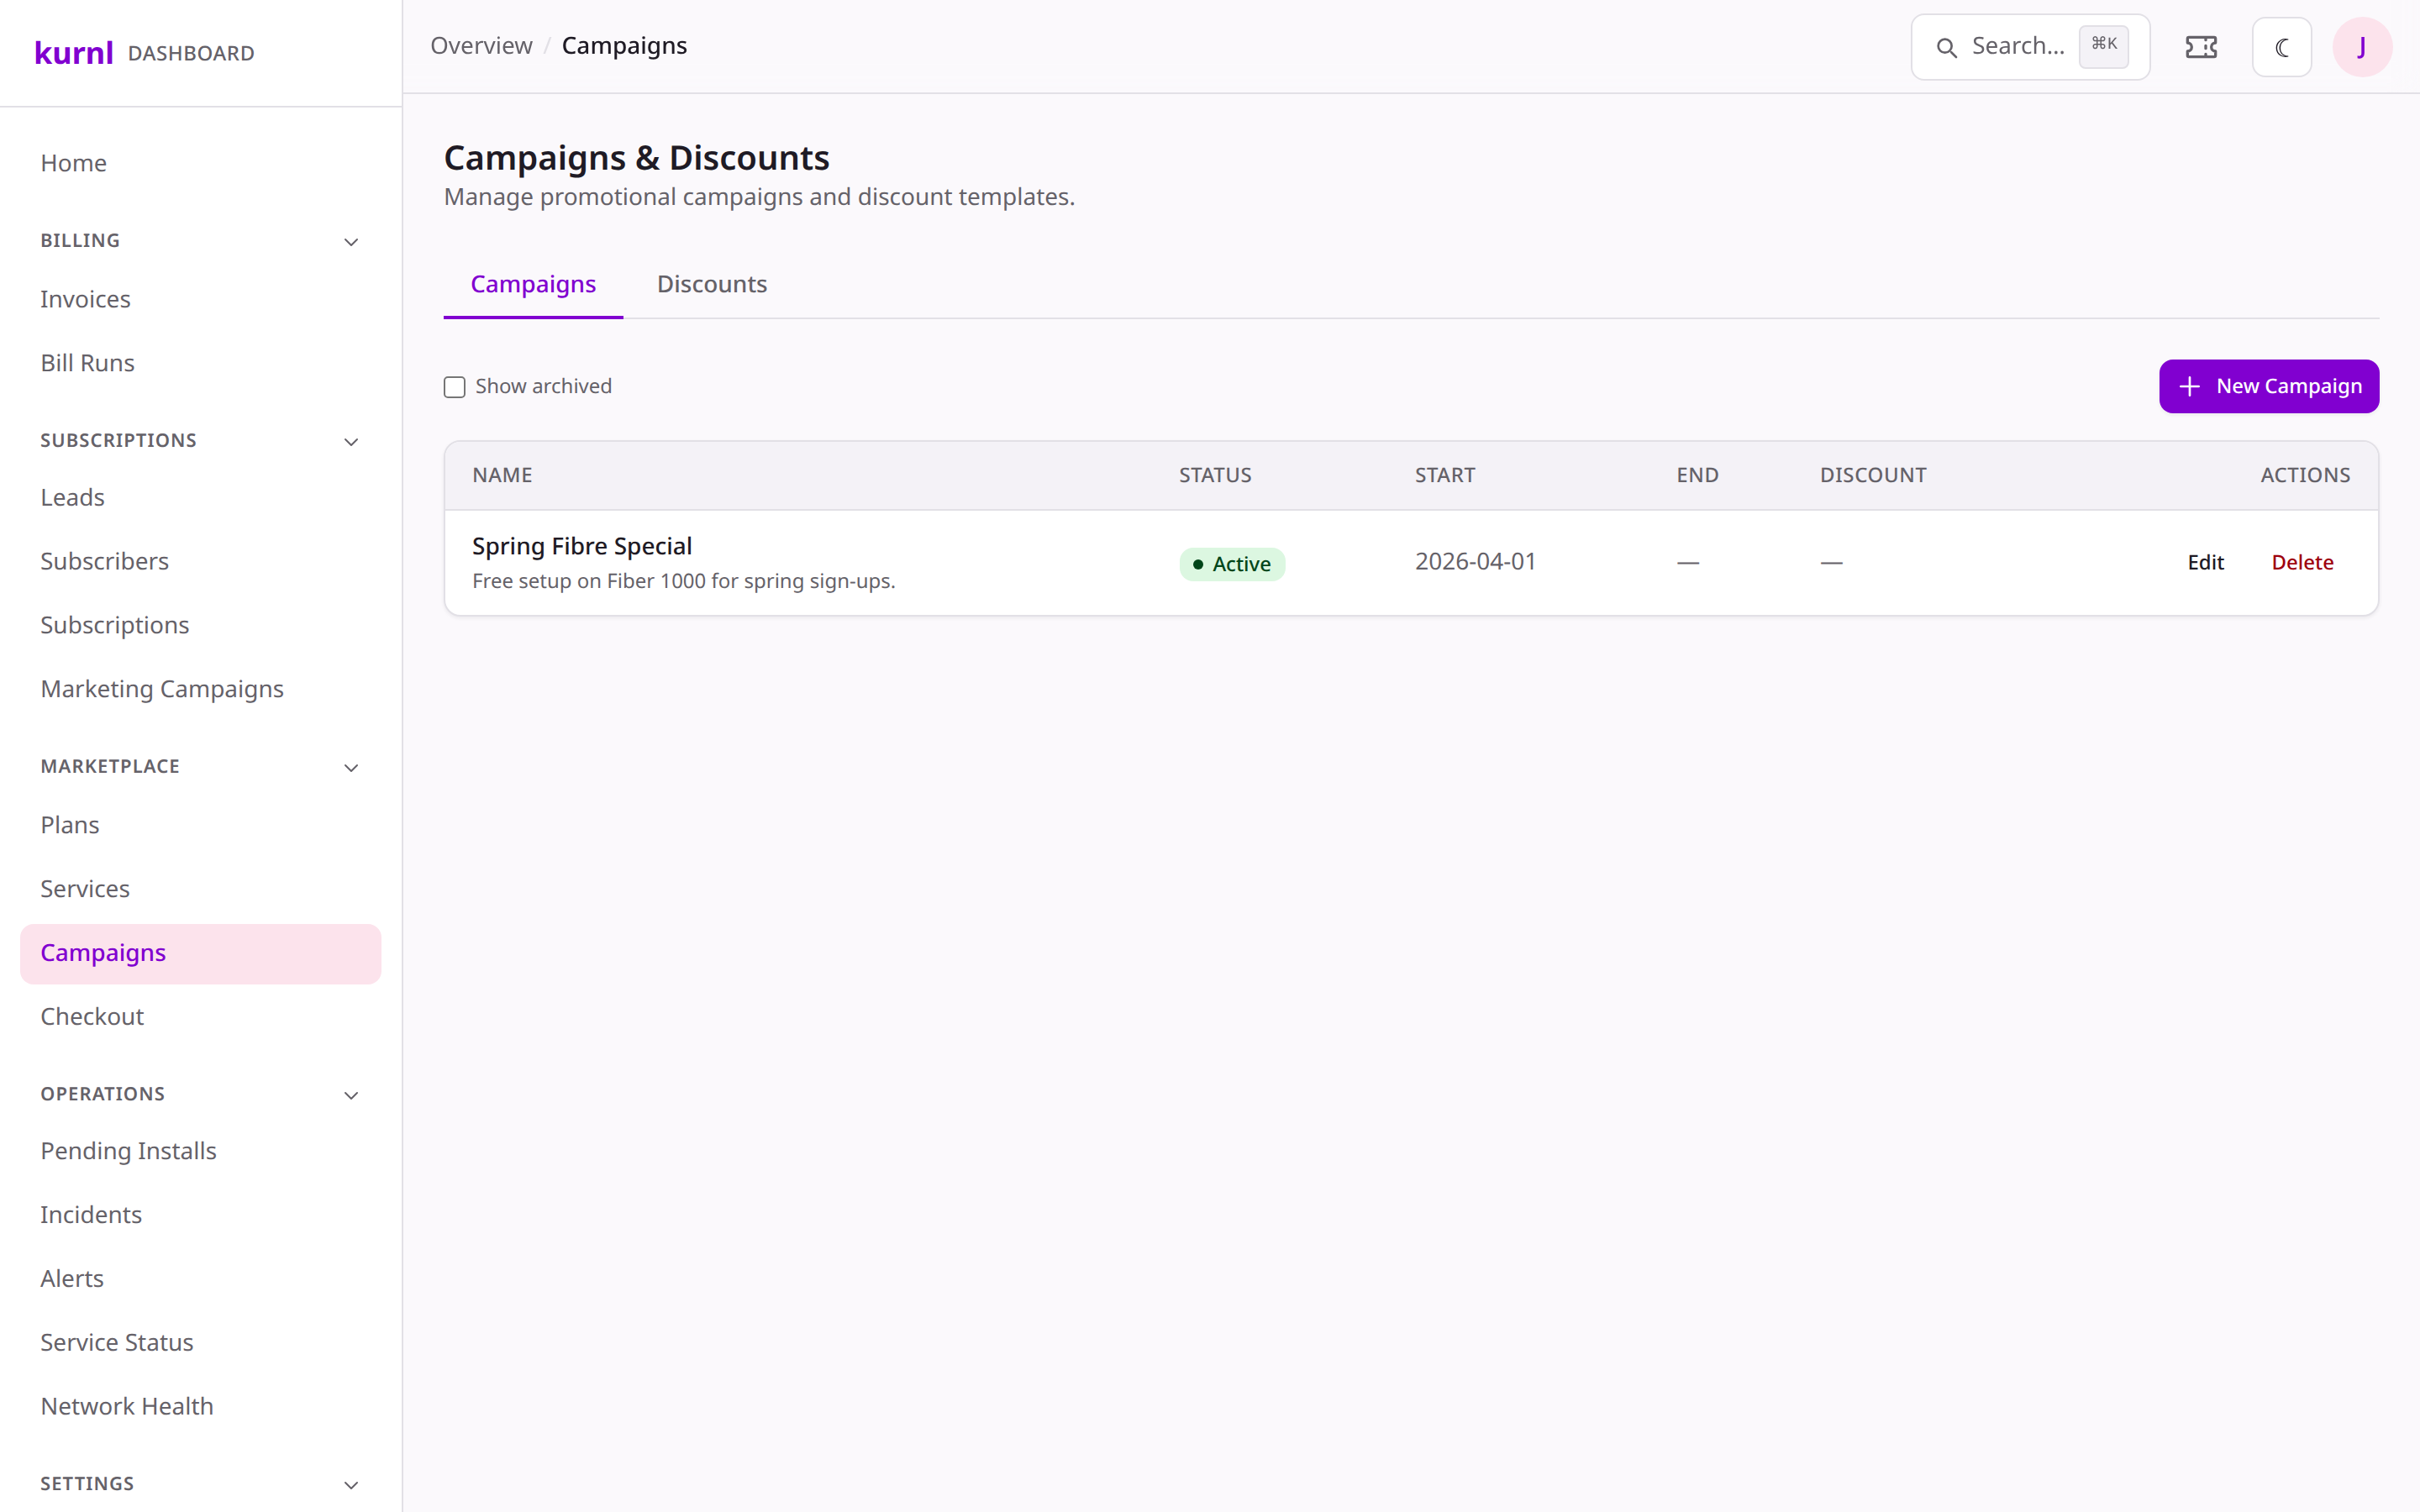
Go to Billing → Discounts → New Campaign. Name it (e.g. Spring Fibre
Special), write a short blurb, choose the plan(s) it applies to, attach a
discount if you’re running one, and set the dates.
Before you publish to real customers, preview the exact storefront and checkout
a subscriber will see — no order is placed.
1
Open the preview
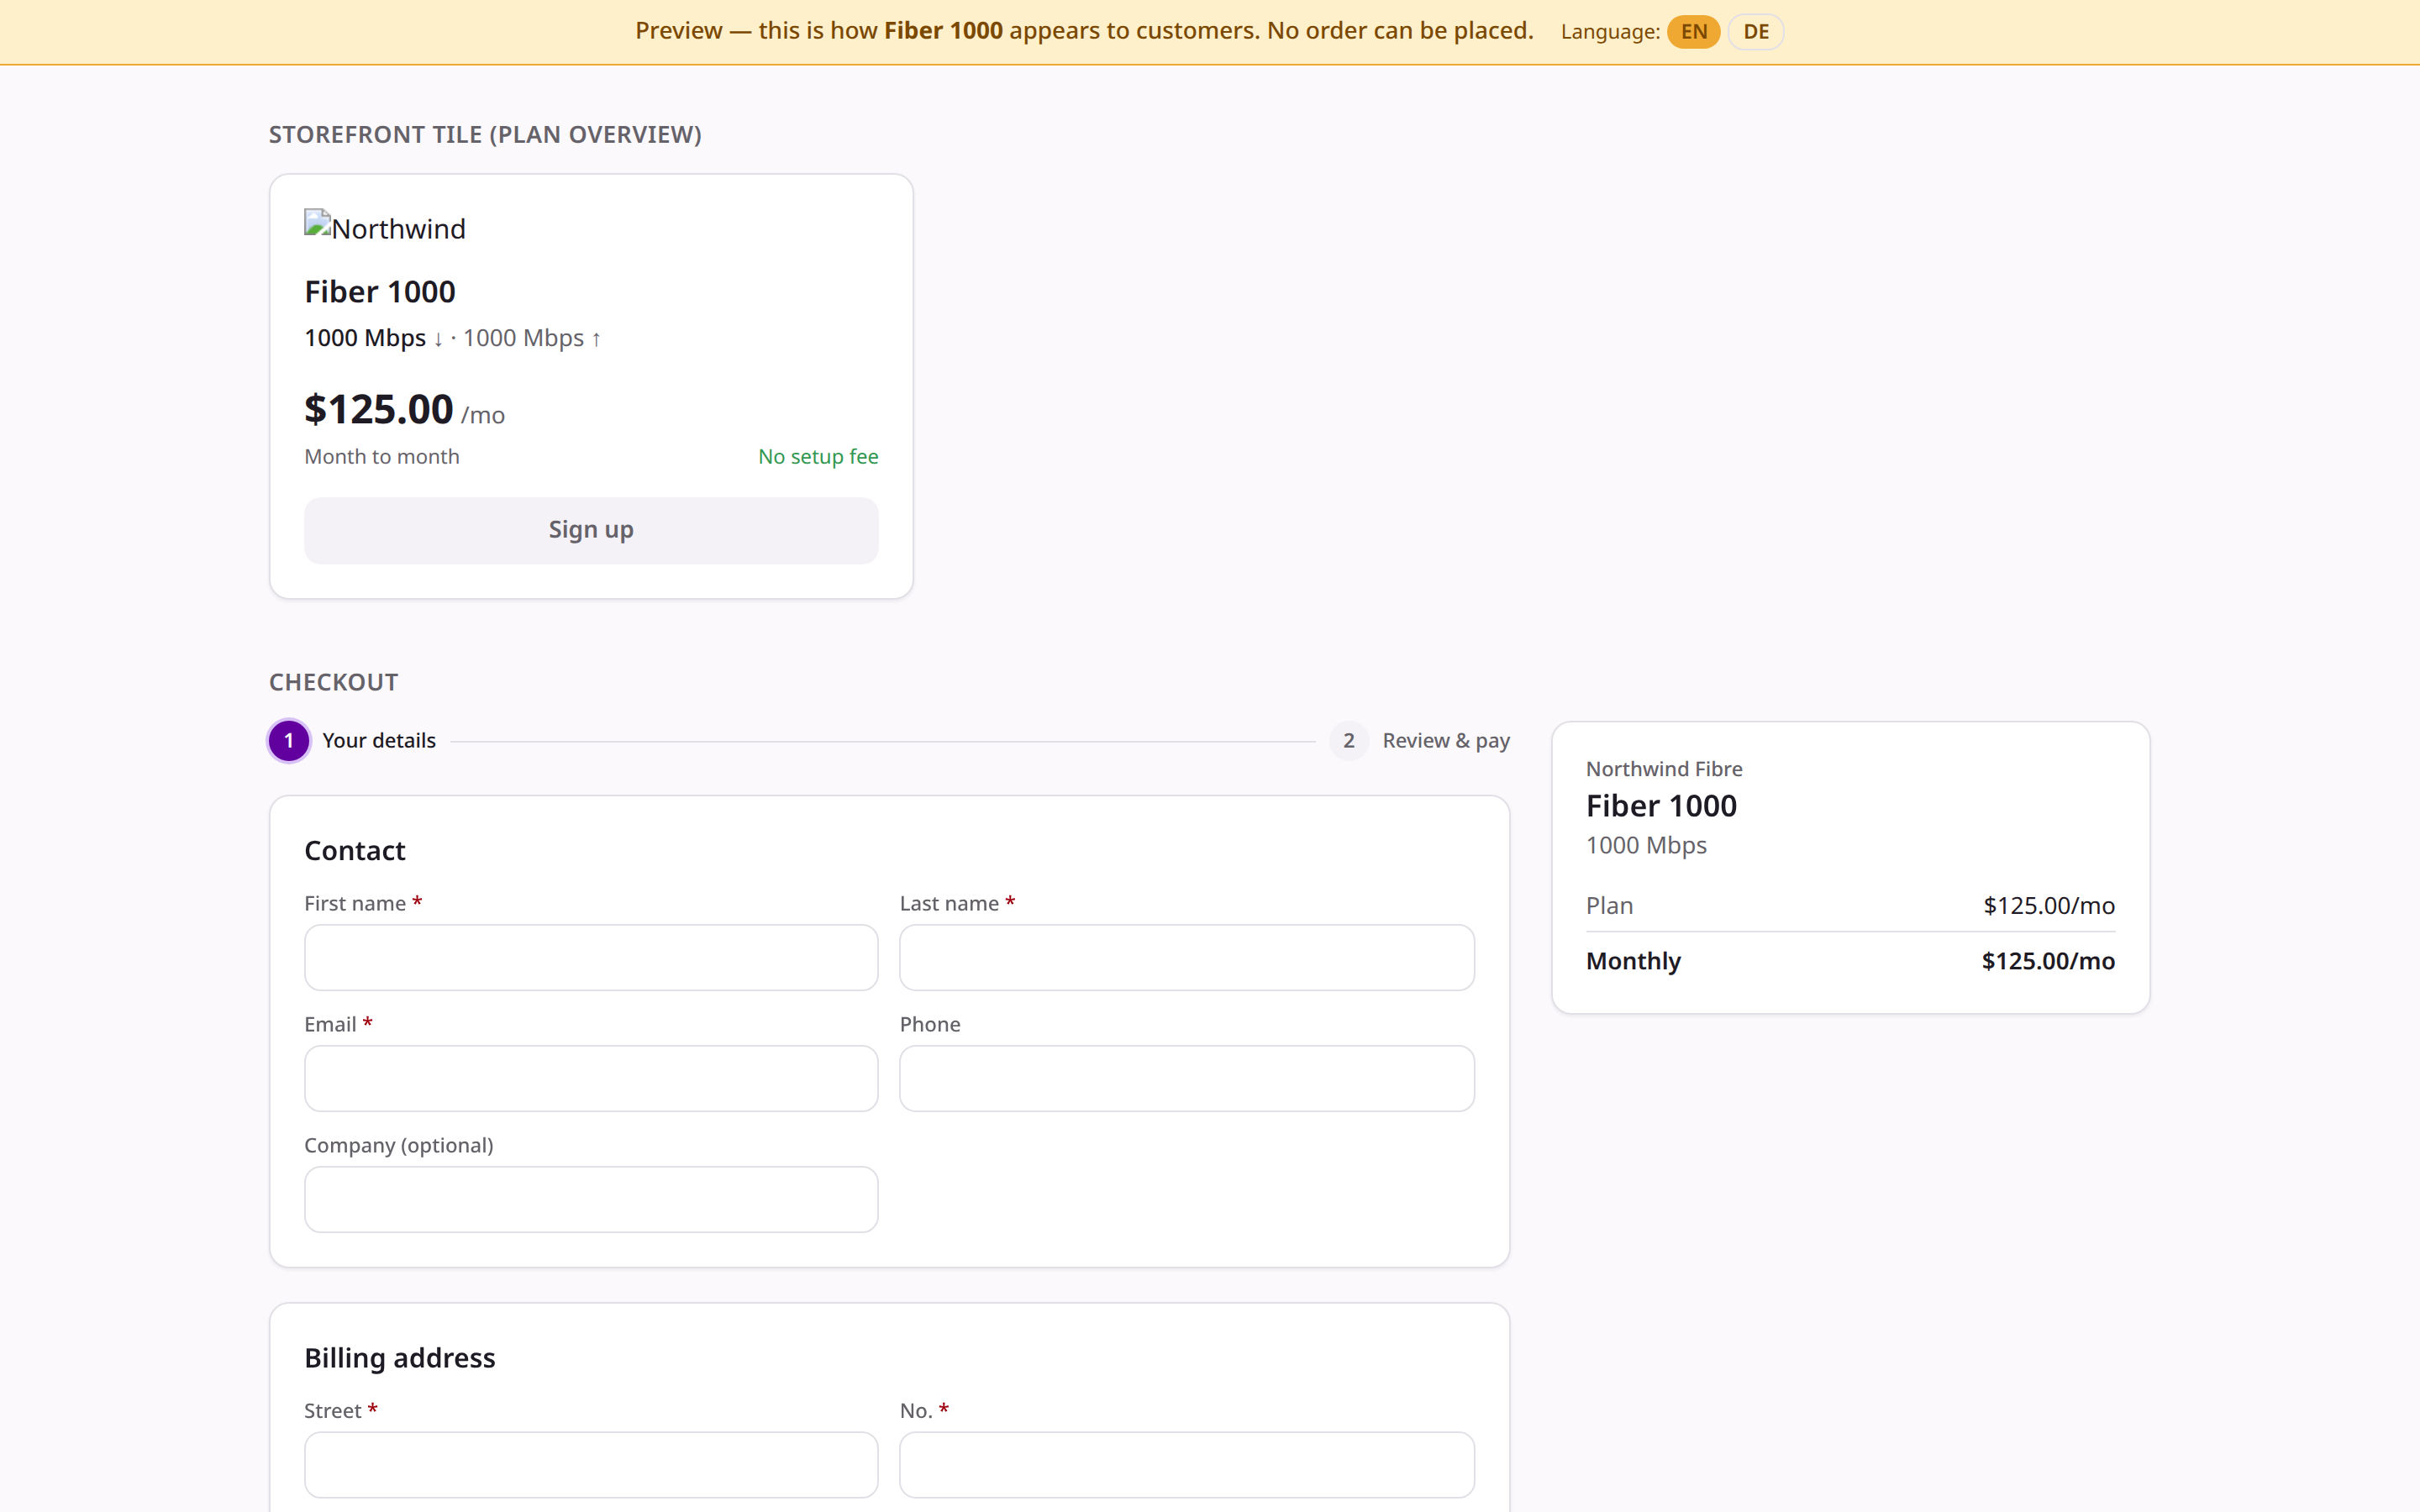
From a plan version, use Preview (or open
https://<your-marketplace>/preview/<plan-version-id>). You’ll see the
storefront card and the full checkout, with a banner making clear it’s a
preview.
Exactly what the customer sees — storefront card + checkout
2
Check the details
Confirm the name, speeds, monthly price, setup fee, term, and any add-on
services read the way you intend. The order summary on the right mirrors what
the customer is charged.
3
Publish
Happy with it? Publish the plan version — it goes live in the marketplace and
subscribers can buy it. Need a change? Edit and re-preview; nothing is public
until you publish.
New subscribers arrive through the marketplace automatically — but you can also
add one by hand any time: see Add a subscriber & subscription.