This page is for the person on site. It is written for a phone: the job sheet is a single column, the customer’s number is a tap-to-call link, photos come straight from the camera. Nothing to install and nothing to print. The operator’s side of installs — queue, scheduling, booking rules — is in Installs & field service; the bench and what happens after your visit are in the CPE provisioning procedure.

Before the first visit

1

Get your sign-in

The operator sends it from Installs & Dispatch → Technicians → Set up sign-in. The mail leads to choose a password. No second factor for this role. If the mail never arrives, the operator can re-send it from the same tab.
2

Open it on the phone and keep it

Sign in once in the phone’s browser and add the page to the home screen (iPhone: Share → Add to Home Screen; Android: menu → Add to Home screen). You land on My jobs every time; every other page sends you back there.
3

Bring what the sheet says

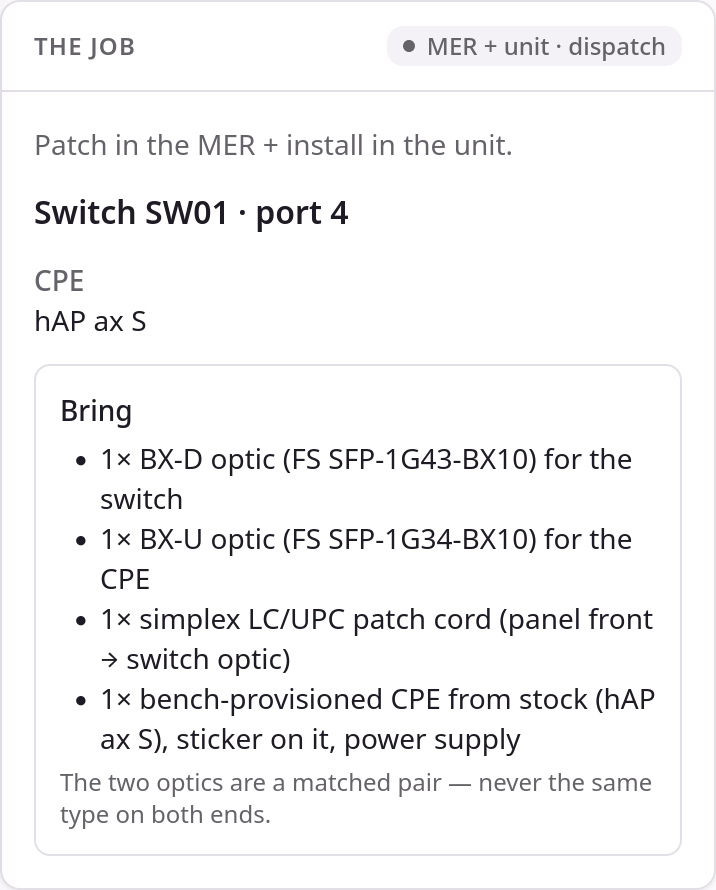
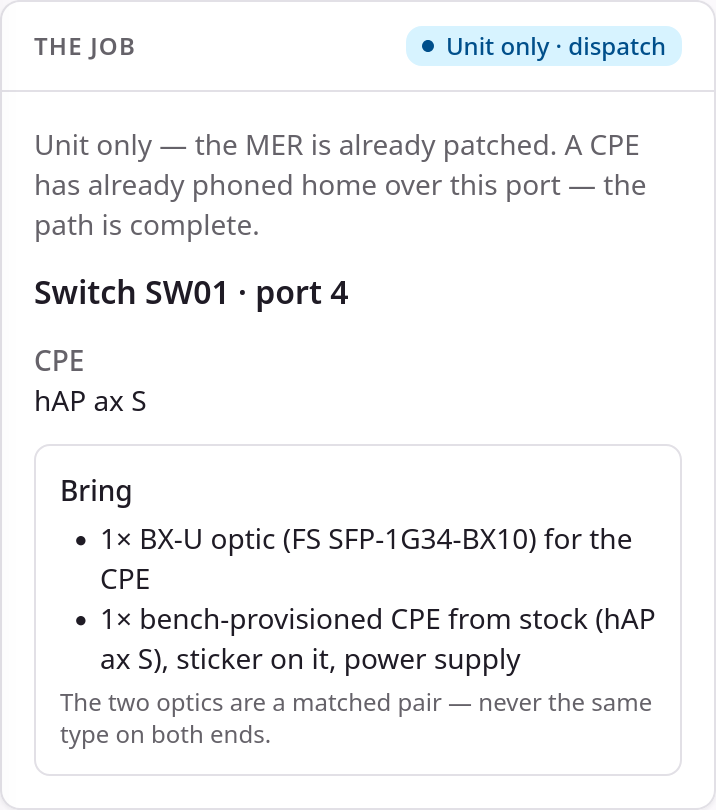
Every job sheet has a Bring box. The optics are a matched pair — one type for the switch end, the other for the CPE end — never the same type on both ends. A CPE always comes bench-provisioned from stock, with its sticker on; never a device straight from the box.

My jobs

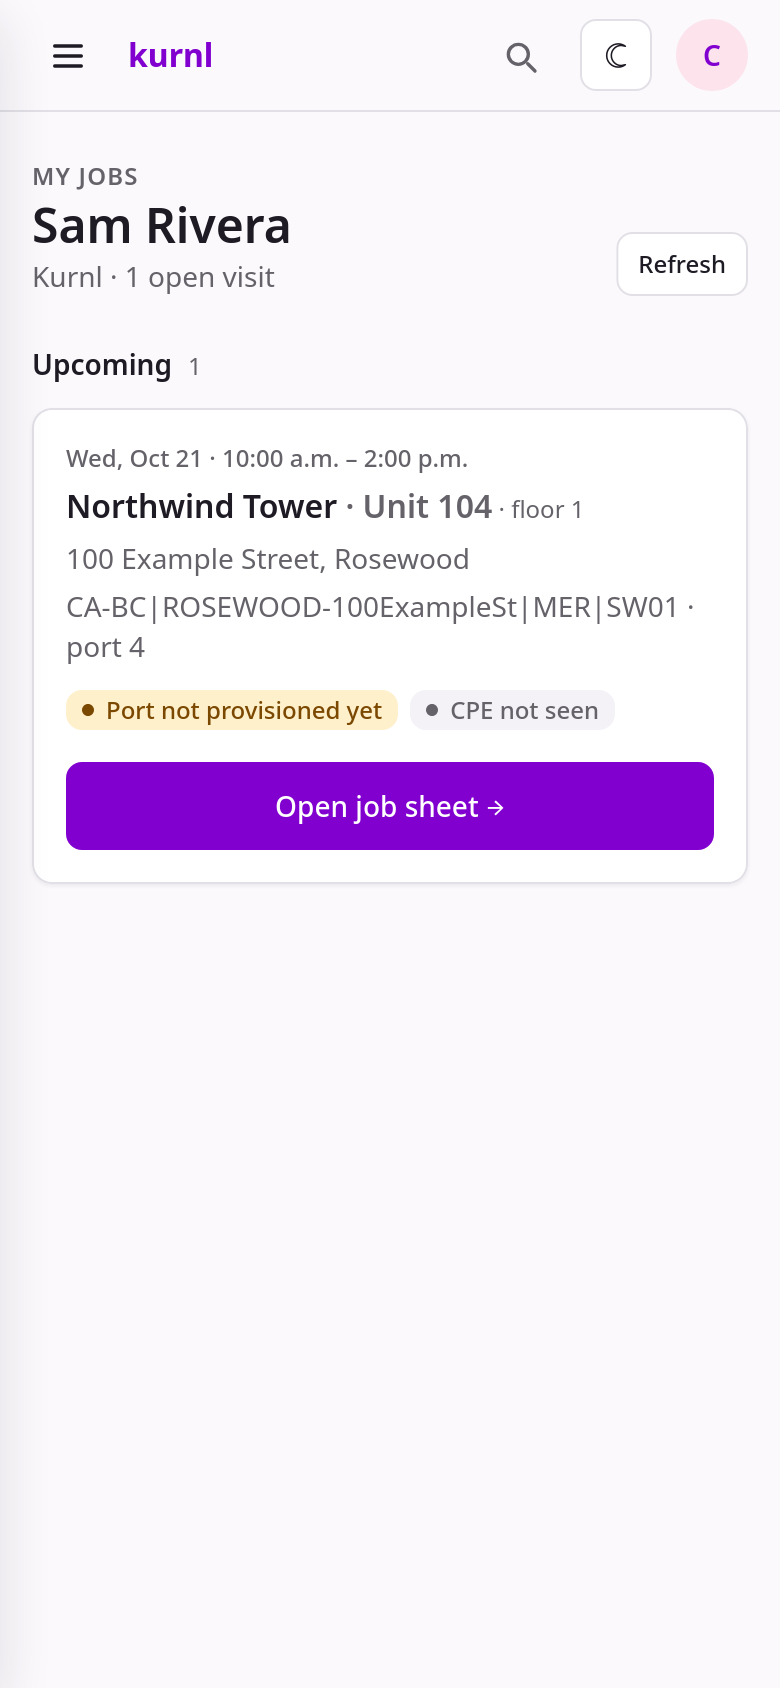
My jobs list on a phone

My jobs — one card per visit; the strip under the address says what the line does right now

Each card is one visit: the window, the building and unit, the switch port, and a line strip. Before you start it usually reads Port not provisioned yet · CPE not seen — that is the normal starting point, not an error. Open job sheet takes you to the sheet. Refresh reloads the list; the sheet itself refreshes on its own.

The job sheet, top to bottom

The sheet has a header (building, unit, address), the line strip, the customer’s name and number (tap to call — you will have to ring the bell), the window, and then five numbered steps: The Print button at the top makes a one-page paper copy for the rare case without reception in the MER. Everything on it is on the phone as well.

Three kinds of visits

The badge on The job tells you which one you have. The platform derives it from the building’s line type, the unit register and whether a CPE has already been seen on the port; dispatch can override it (the badge then ends in · dispatch). If what you find on site does not match the badge, call dispatch before you start — do not improvise a different visit.

MER + unit

Job card for a MER + unit visit

The job — MER + unit: both optics, patch cord and the stock CPE

1

Tap I'm on site

First thing, before you go looking for the MER.
2

Patch in the MER (step 2)

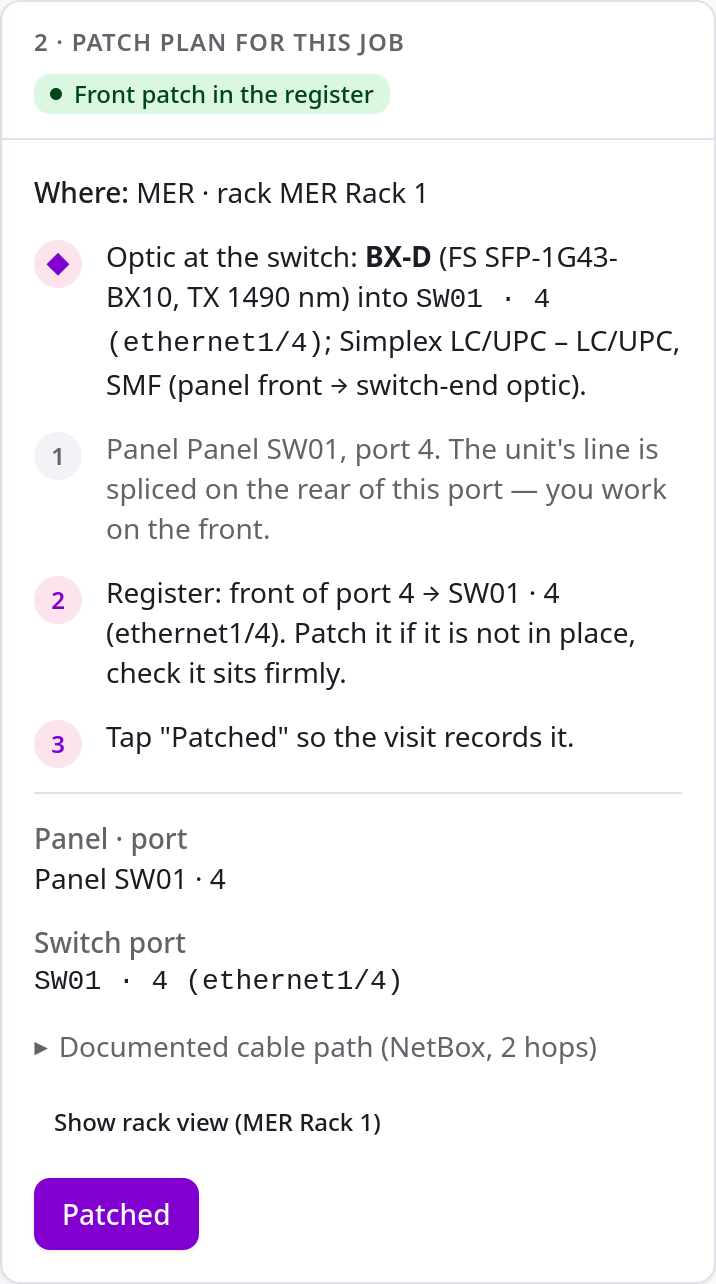
The card names the room, the rack, the switch port and the panel port, and which optic goes where. The front of the panel port is your work; the rear is the splice — documentation only. Put the switch-end optic into the named switch port, patch the panel front to it, make sure it sits firmly, then tap Patched. The platform writes the cabling into the register.
Patch plan card on a phone

Step 2 — patch plan: optic, panel port, register line, Patched

Documented cable path and Show rack view open the NetBox path and the rack drawing when the MER is unfamiliar.
3

Mount the CPE in the unit (step 3)

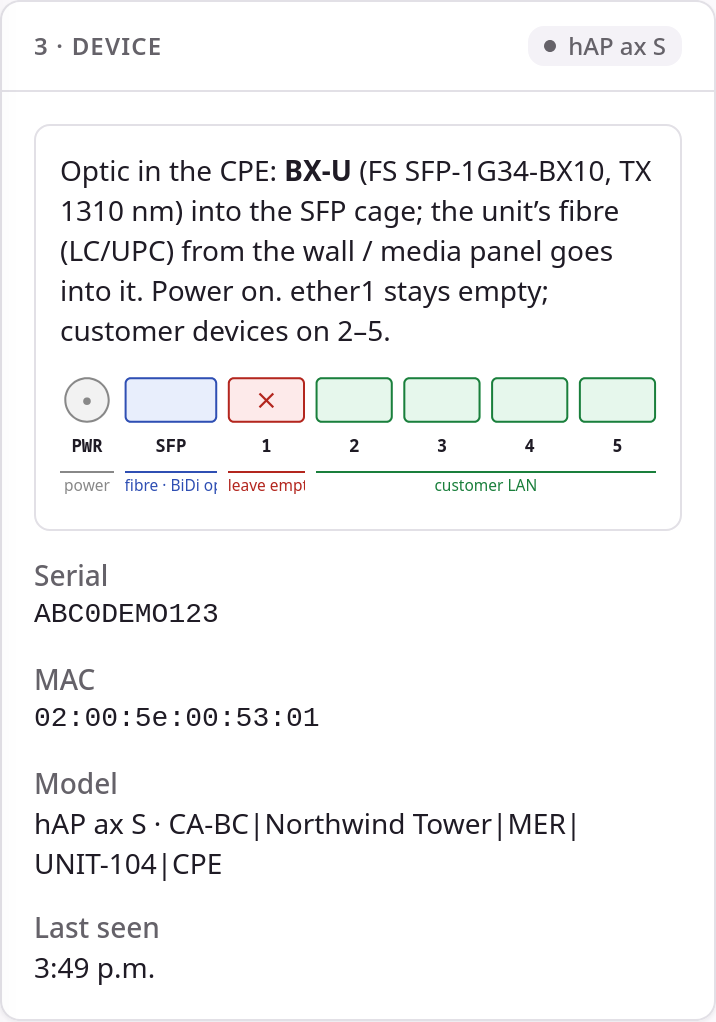
CPE-end optic into the SFP cage, the unit’s fibre from the wall or media panel into it, power on. ether1 stays empty in a fibre building (copper buildings use ether1 as the uplink instead); the customer’s own devices go on ports 2–5. The port strip on the card shows exactly that.
Device card on a phone

Step 3 — device: optic, port strip, and the card once the CPE has reported in (serial, MAC, model, last seen)

The device card is read-only. Waiting for the CPE to phone home is normal for up to two minutes after power-on; then serial, MAC and model appear and the line strip changes. You do not type anything here.
4

Photos (step 4)

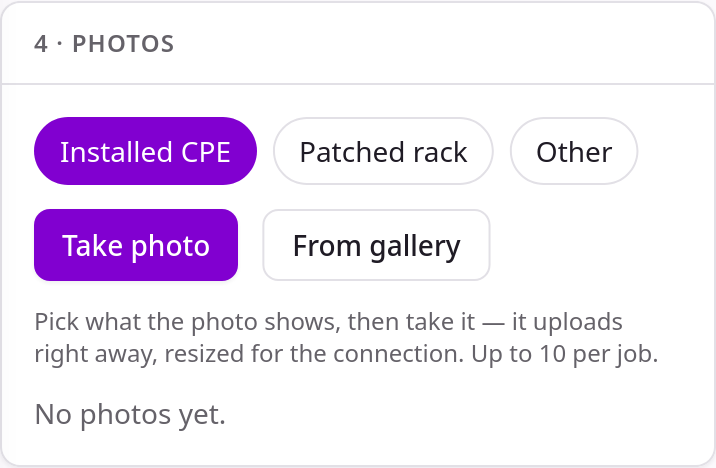
Pick what the photo shows, then take it: the mounted device with its sticker, the patched panel, anything unusual. Photos upload right away, resized for the connection, up to ten per job, and stay with the device afterwards.
Photos card on a phone

Step 4 — photos: tag, then camera or gallery

5

Work done (step 5)

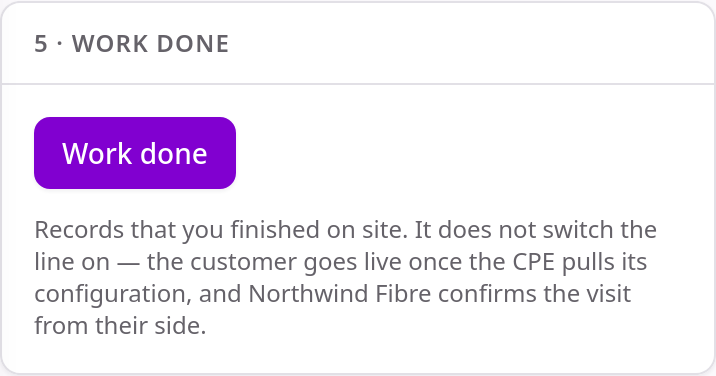
Tap it when you leave. It records that you finished on site — it does not switch the line on. The customer goes live once the CPE pulls its configuration, and the provider confirms the visit from their side. If the device had not reported in when you left, say so in the notes.
Work done card on a phone

Step 5 — work done

Unit only

Job card for a unit-only visit

The job — unit only: the MER is already patched, only the CPE-end optic and the device to bring
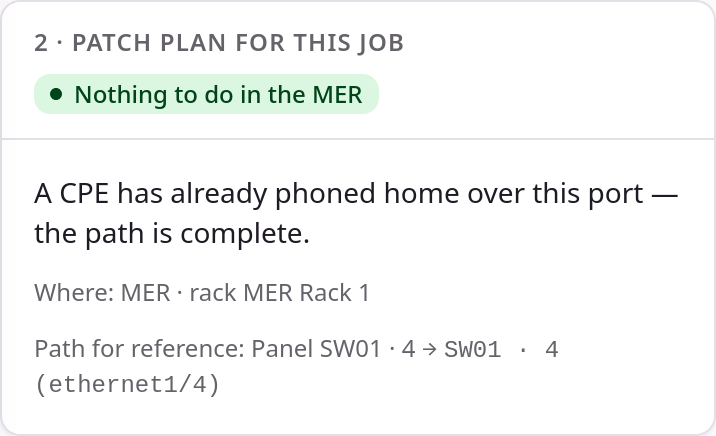
Same sheet, but step 2 has nothing for you: it says why (the path is complete, or the rack was patched in the rollout) and lists the path for reference. Go straight to the unit — steps 1, 3, 4 and 5 as above.
Patch plan card saying nothing to do

Step 2 on a unit-only visit — nothing to do in the MER, the path is shown for reference

MER only
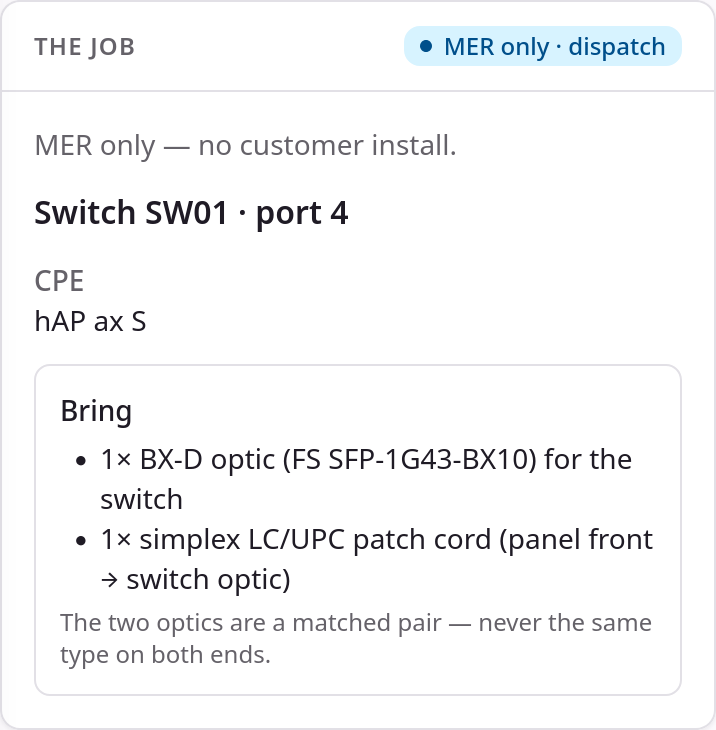
Job card for a MER-only visit

The job — MER only: no customer install, no CPE to bring
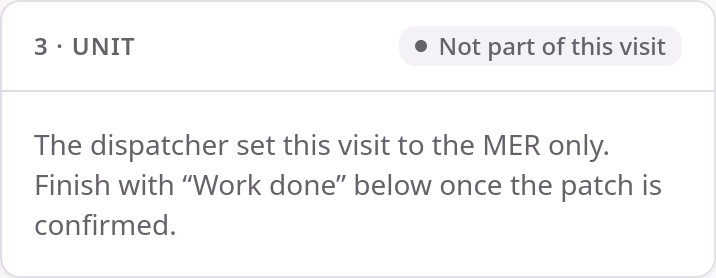
Steps 1 and 2 as in the full visit; step 3 tells you the unit is not part of this visit. Take a Patched rack photo and tap Work done once the patch is confirmed.
Unit card saying not part of this visit

Step 3 on a MER-only visit — not part of this visit

When something is off

Not covered by a job sheet yet

Replacing a defective CPE, a troubleshooting visit on a live line and collecting the device when a subscription ends are not job types of their own yet. Until they are, dispatch sends them as a MER only or unit only visit with the details in the notes.

For the operator

Every stamp shows up on Installs & Dispatch: On site moves the card, Patched writes the register, Work done moves it to Completed. Photos land on the device’s page under CPE Fleet. The kind of visit can be set per card there (Scope), and the technician’s sign-in is managed on the Technicians tab.